Wondering which upgrades to add to your new home? You’re not alone! It can be tough to decide which ones to choose, especially if you’re trying to stick to a budget.
A simple way to evaluate upgrades is by looking at what it would take to replace or redo something later down the road. If something would require a big tear out and expense to replace or add in after your home is built, then that’s what you should focus on. This will help you make smart choices about where to invest now and what you can hold off on or even do yourself later.
To help you decide which upgrades are worthwhile adding to your home right away and which ones to wait on, we’ve compiled the following list.
1. Upgrade the ceiling height of the main floor, upper floor, and basement
Ceiling height goes a long way in defining the spaciousness of a home. High ceilings can give rooms a light and airy feeling and add grandeur to entryways and staircases.
What’s your ideal ceiling height? Today’s standard ceiling height is 9 feet. New homes are often built with 9-foot ceilings on the first floor and, sometimes, 8-foot ceilings on the second story. On the opposite end, ceilings can go beyond the industry standard to 10- and 12 feet high.
It’s crucial to determine what ceiling height you want and built it from the start. Trying to raise a ceiling after your home is built requires structural engineers, foundation experts, exterior updates, changes to the interior finishes, adapting the staircase or flooring, and often all the electrical, plumbing, and heating on that floor will also need to be changed. All in all, this would be a very expensive renovation.
2. Additional square footage to your home and garage
Need a few extra feet in a specific room? It’s common for new home buyers to add a bump out to give them just enough extra floor space for specific goals, like installing a shower in a bathroom that only has space for a bathtub. Adding a few extra feet may not seem like much but it can make a huge difference as we explain in our previous article on bump-outs.
While we’re talking about adding square feet…don’t forget the garage! Adding square feet for a workshop, storage for recreation vehicles like ATVs, or simply more storage space is much less expensive to include when building your home.
3. Window upgrades and placement
Windows do more than let natural light and fresh air into your home. They can contribute to your home’s overall architectural style, take advantage of views, and protect you from extreme heat and cold. Because they’re a big ticket item in any new home build cost, getting these right at the beginning means you’re not paying for the same window more than once.
If you’re interested in learning more about windows, check out our previous blog post on windows.
4. Prepping for a fireplace
Not only does a fireplace make a statement and provide warmth, but it can also increase its value. You may not be ready to install one immediately, but with careful planning, you can save yourself a lot of headaches and money when you are ready.
Here are some of the items to consider:
- Adding a gas line to where you’d like your future fireplace installed. Adding this to an existing house comes with a myriad of challenges.
- Reinforce your home’s framing if you plan to use either brick or stone. To build a fireplace of average size, the quantity of these materials required is heavy, so building codes require that a home’s framing be modified to accommodate the increased load.
- Keep in mind the venting required for the type of fireplace you’d like. If it requires a chimney or external air-venting, it will be much less expensive to get all the pre-work done during construction.
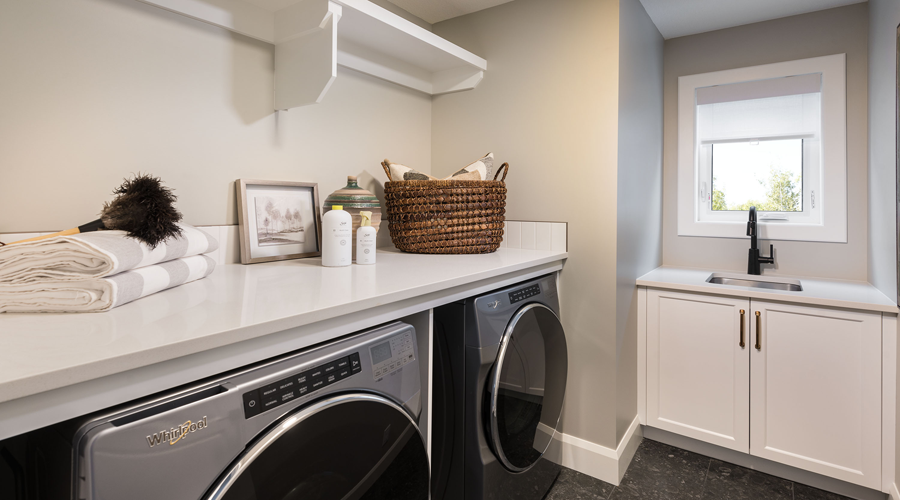
5. Plumbing rough-in for future bar sinks
A plumbing rough-in means you already have all the water supply and drains prepped through holes in the studs (found inside your walls). Pipe connections are completed as well. So, the only plumbing left to do is to install the fixtures using the existing water supply and drains.
Adding a water supply and drains later can cost thousands. Like all remodeling projects, it will depend on what is being installed, where, and whether permits are required.
It’s important to note that rough-ins are part of the inspection process when building a new home. This can give you peace of mind knowing all the plumbing was done right and according to all current standards and specifications. Plumbing is crucial to get right so it’s worthwhile hiring a professional—although it’s even better when it’s done ahead of time.
6. Electrical rough-ins for speakers or soffit plugs
When designing and building a new home, it’s essential to plan with the future in mind! A well-designed electrical system will ensure you have all the wiring and power you need – now and down the road.
Like the plumbing rough-in, an electrical rough-in preps all the wiring for future switches, outlets, and receptacles. This means that all the electrical cables have been pulled through the wall studs and that boxes for light switches, outlets, and receptacles have been put in place. However, one of the main differences is that the wiring has not been connected to your breaker box.
Tip: It’s a good idea to think ahead for the holidays. If you enjoy hanging up outdoor lights in the backyard for the summer months or Christmas lights in winter, install a nearby outlet and a dedicated circuit for the lights wherever you plan to hang any. You can also invest in under-soffit recessed lights and permanent holiday lights.
Whenever you’re ready to proceed, it will be much easier and less expensive to do-it-yourself or hire an electrician to finish hooking up those speakers or plug-in for your lights.
7. Solar rough-in
Homeowners who install solar power systems can receive numerous benefits including lower electric bills, lower carbon footprints, and potentially higher home values. But these benefits typically come with significant installation costs.
One way to reduce the installation costs is to do the following ahead of time:
- Choose an optimal roof orientation for solar. This means looking at the ideal angle for our latitude and weather patterns, and aiming your future panels ideally in a south (or at least partially south) direction.
- Run the right number of conduits you’ll require from the main panel to the attic.
- Ensure that the panel itself is capable of handling the capacity of the solar array you want.
- Plenty of available storage for your batteries near your electrical panel in the electrical room.
Getting these things right will reduce the complexity and cost of the installation.
8. Electric car rough-in
Planning to purchase an electric car? Then you’ll want to add a rough-in for the charging unit in your garage. Level two chargers require a 240-volt outlet, which most owners need to have professionally installed.
9. Railings, a half wall, or a full wall. Which is best?
Often you can choose to have railings, a half wall, or a full wall built around an upper-floor landing or staircase. A railing can be simple and functional, or decorative and elaborate to match any decor. A half wall can provide a barrier while still maintaining partial sightlines. Meanwhile, a full wall can completely encircle the space for privacy.
Each option has its own merits and it’s up to you to decide which one is right for your needs. Whichever way you go, you’re sure to end up with a great result. But it’s best to decide what you want before construction begins. After all, it can be difficult to rebuild, and you don’t want to end up paying twice for it.
10. Finished basement stairwell
While you may not be ready to get a finished basement just yet, consider getting the stairwell completed. Stairs are tricky to get right and require several different trades. If you decide to wait until you develop the basement, it can end up being expensive to get all the right professionals back to complete it.
When choosing upgrades, any or all of these upgrades will be great investments in your new home.